I still remember the first time I dropped into the Mosslands. Hollow Knight: Silksong opens at the bottom of Moss Grotto, and as a tutorial area it seems almost innocent—few enemies, gentle platforming, and a clear path forward. But I quickly learned that this grotto rewards curiosity more than any other place in the game. Every false wall, every suspicious gap, every dark alcove hides something worth finding. It’s less about mastering your needle and more about thinking like a level designer. Is this wall breakable? Can I jump over this gap? What happens if I fall here? I asked myself those questions constantly, and every answer led to a unique prize.
First Steps and the Moss Mother
My first encounter was with the Chapel Maid, who literally whacked me awake after I defeated the Moss Mother. That initial fight is a mandatory tutorial—you can’t miss it, though you can certainly miss the bench below her. I didn’t know it then, but the Moss Mother would show up again later, and this time she’d bring a twin. More on that in a moment.
The enemies in Moss Grotto are mostly simple: Mossgrub, Mossmir, Aknid, Overgrown Pilgrim, Pilgrim Groveler, Pilgrim Pouncer, Mawling, Marrowmaw, and Servitor Ignim. The last two are unique to the connected subregion. But the pilgrims are worth noting—they always drop Rosary, which made them my favorite farming target. I spent a lot of time early on just gathering Rosary, and it paid off.
Mapping the Grotto and Meeting NPCs
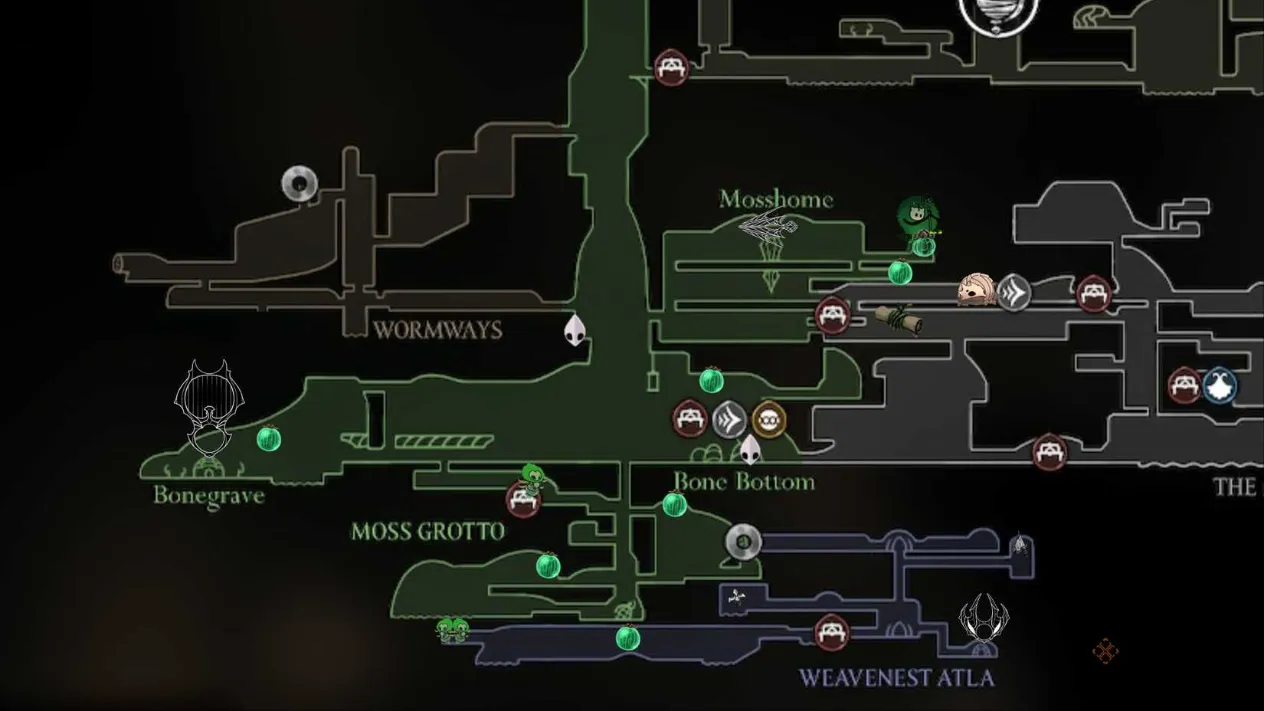
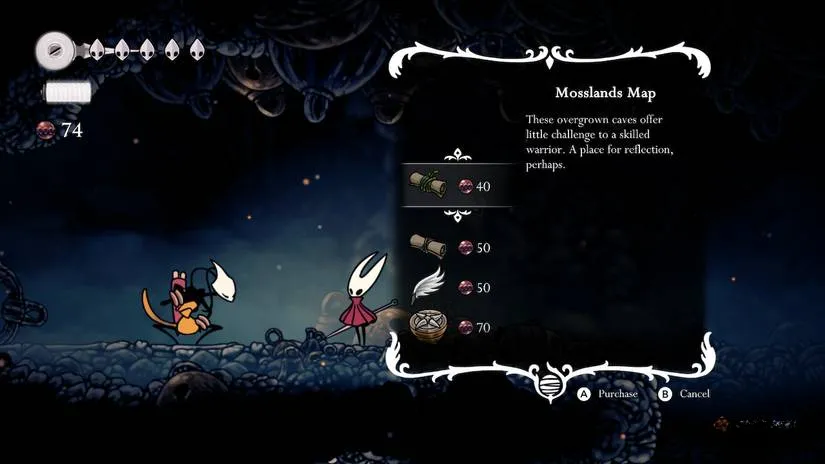
The map for Moss Grotto isn’t available until you’ve progressed nearly halfway through the Marrow region. Shakra sells it at the Mosshome and Marrow connection. Even then, most of the map remains empty at first. I had to return several times as I unlocked new abilities: Swift Step opened the area toward Wormway, Cling Grip opened the west toward the Chapel of the Wanderer, and Needolin unlocked the Weavenest Atla region. Each return felt like peeling back another layer of a beautiful, hidden onion.
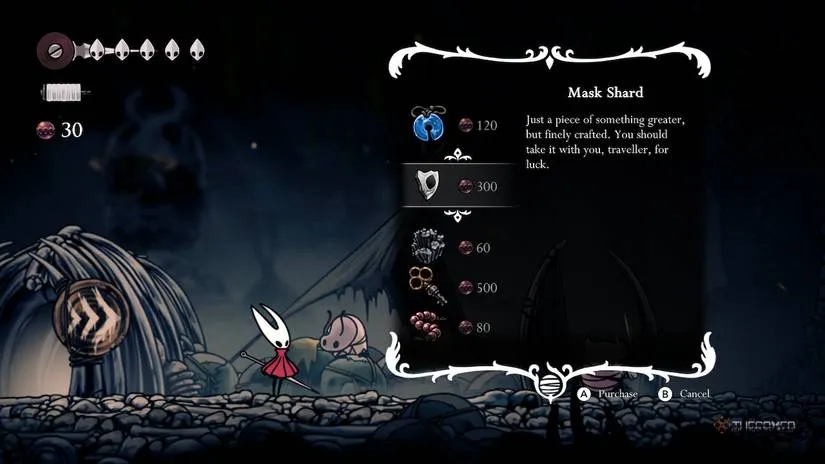
Beyond the Chapel Maid, I met Pebb and Flick in Bone Bottom, just above Moss Grove. Pebb is the local goods trader—I farmed a lot of Rosary to buy from him, especially the Simple Key, which is required to unlock many important regions above and below. Flick builds the Wish Wall and other structures as you donate funds. The other two NPCs in Bone Bottom didn’t provide much help, but Pebb and Flick became regular stops.
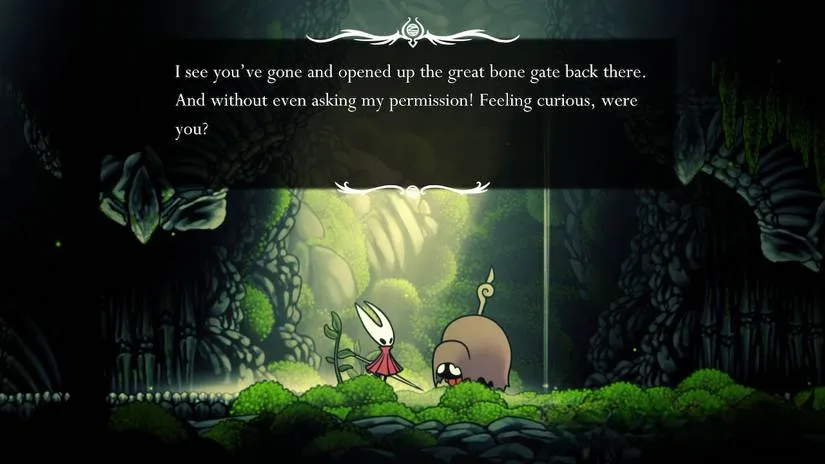
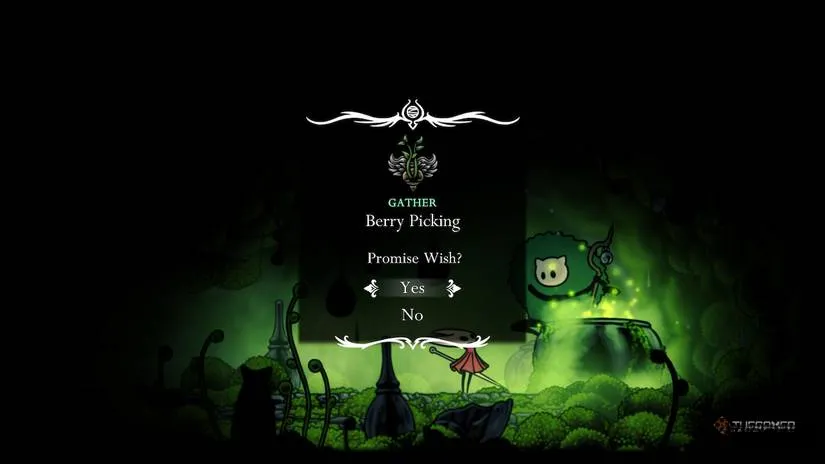
The final NPC of the area is the Moss Druid. I found her in Mosshome after acquiring the Silkspear. From the Silkspear Herrah statue, I dropped off to the right and used my ability to clear the silk strands blocking the way. She was down and right from there, waiting with a Wish called Berry Picking—give her three Mossberries and she rewards you with the Druid’s Eye charm.
Collectibles and Crests
Most collectible items in this region can be purchased from Pebb’s shop, but the Mask Fragment is the first one you find in the wild. You need the Swift Step upgrade from Deep Docks. From above the elevator shortcut between Mosshome and Bone Bottom, I jumped off to the left over the top of metal contraptions, sprinted under a bug spewing acid from the ceiling westward, headed toward the Wormway Simple Lock door, went under the door toward the watery bottom, and found the Mask Fragment hidden in an alcove to the right. That felt like a real treasure hunt.
After acquiring Needolin, I found two special items: the Spool Fragment on the second floor of Weavenest Atla (under the main floor’s elevator) and to the left, and the Weavelight charm, which is rewarded after defeating the Moss Mothers. The Weavelight is a must-have for any serious explorer.
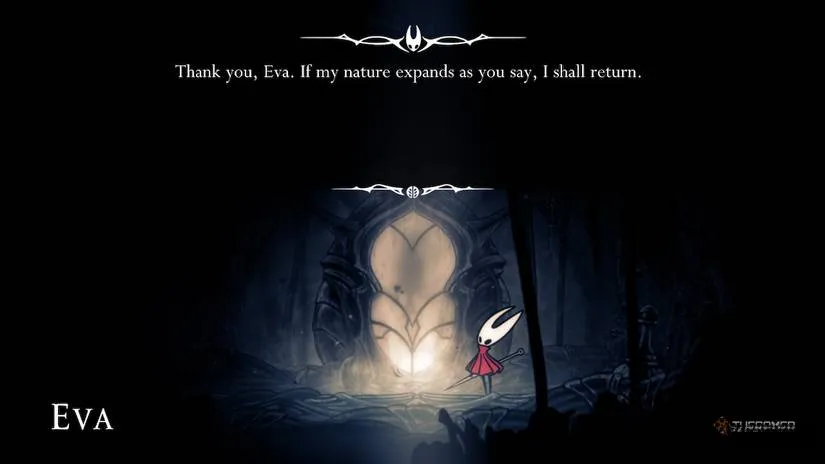
There are two crests in this area, and neither requires a boss fight. The Wanderer’s Crest allows for quick striking at the cost of weapon length—it’s located in the Chapel on the west side of Moss Grotto, behind a locked mob rush room, and requires Cling Grip. The Hunter’s Crest upgrade increases attack power while gathered Silk is high; it requires Needolin, is located in the far bottom left of Weavenest Atla, and requires destroying several walls and floors to reach Eva.
| Crest |
Power |
Location |
| Wanderer’s Crest |
Quick striking, shorter weapon |
Chapel on west side, requires Cling Grip, clear mob room |
| Hunter’s Crest Upgrade |
More attack power with high Silk |
Weavenest Atla, far bottom left, requires Needolin, speak to Eva |
Bosses and Wishes
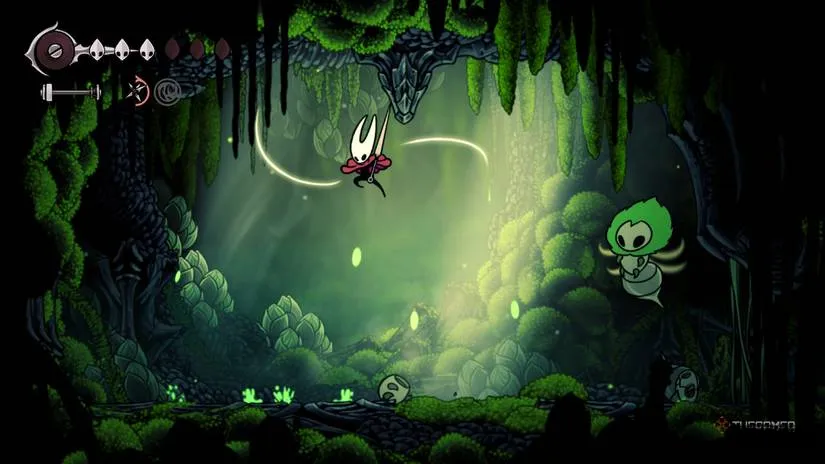
There’s only one boss for Moss Grotto technically, but the Moss Mother shows up twice. The first fight is mandatory, but to fight her second form you need to progress up to acquiring Needolin, open Weavenest Atla, go to the bench there and jump into the pool to the left, swim to the left wall and continue straight through the new area to the end. The Moss Mother will fight you again—but this time she brought her twin. Defeating both rewards you with the Weavelight charm. That fight was intense, but so satisfying.
While several wishes can be picked up for nearby regions at the Wish Board, there are only a few specific to Moss Grotto. Berry Picking (give 3 Mossberries to the Moss Druid) rewards the Druid’s Eye charm. Bone Bottom Repairs (donate 200 Shards) advances the repair and building of Bone Bottom. Garb of the Pilgrims (gather 12 Pilgrim Shawls) rewards a Beaded Rosary worth 60 Rosary. A Lifesaving Bridge (donate 300 Shards) builds a bridge to cover up the Moss Grove hole. I completed all of them—the bridge in particular made navigation much easier.
| Wish |
Task |
Reward |
| Berry Picking |
Give 3 Mossberries to Moss Druid |
Druid’s Eye charm |
| Bone Bottom Repairs |
Donate 200 Shards |
Advance Bone Bottom repairs |
| Garb of the Pilgrims |
Gather 12 Pilgrim Shawls |
Beaded Rosary (60 Rosary) |
| A Lifesaving Bridge |
Donate 300 Shards |
Bridge over Moss Grove hole |
Ideal Progression: Four Stages
There are four notable stages to Moss Grotto: early-game (orange), post-Swift Step (green), post-Cling Grip (purple), and post-Needolin (blue). While the first phase cannot be avoided, the final three can be entirely missed on a playthrough. The early-game tutorial area is straightforward and rail-roaded—just follow the natural progression, pick up both Mossberries, and take on the Moss Mother. Once she’s defeated, progress to Bone Bottom, then carry on to the Marrow for now.
 find the best deal